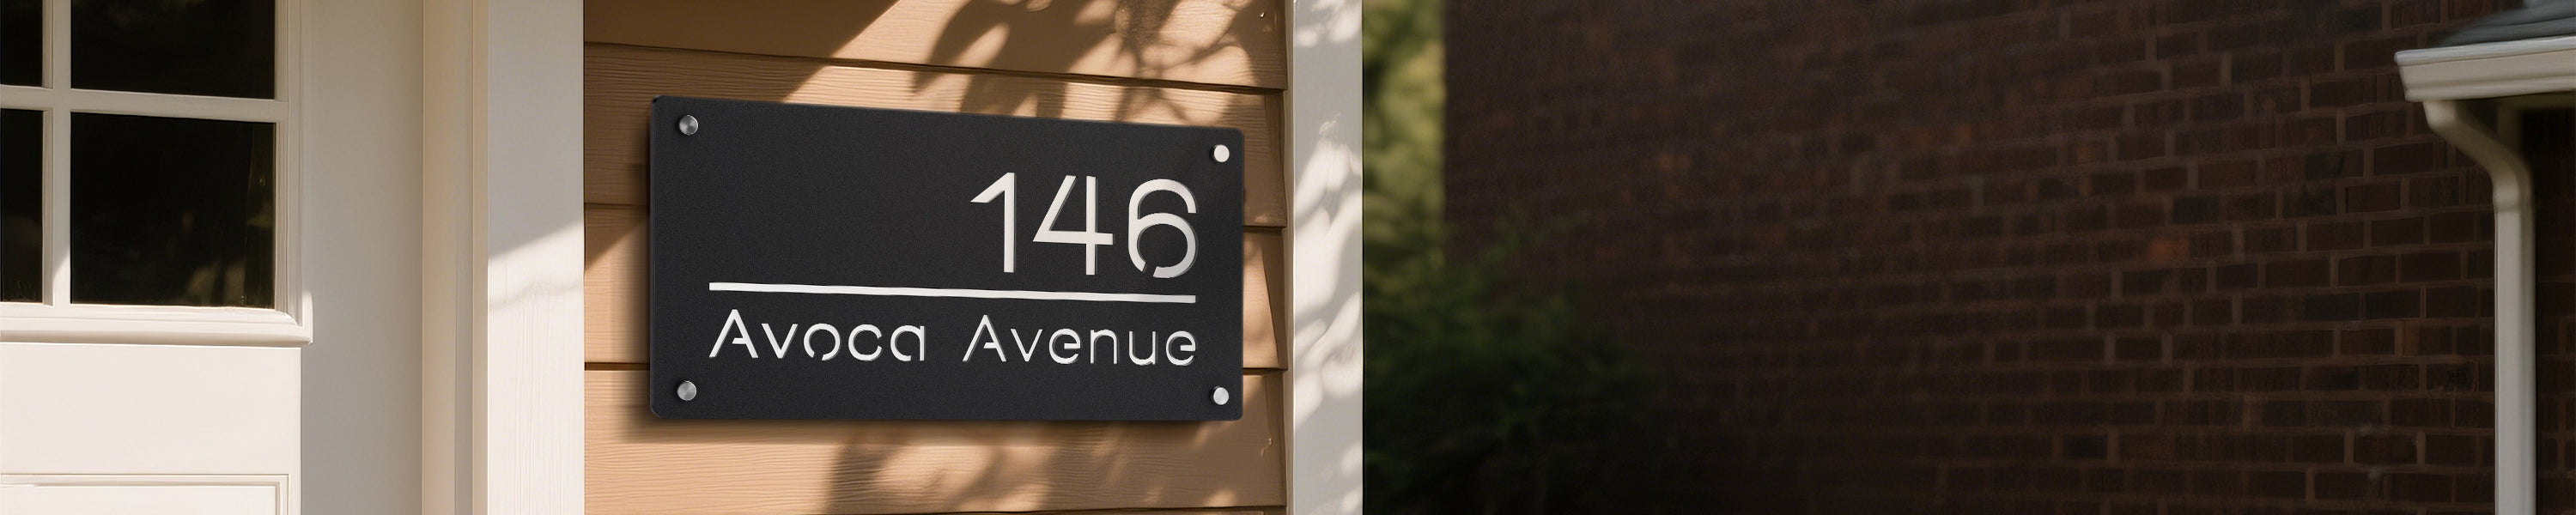
Installing a Grotrevleg LED address sign is straightforward if you plan power and mounting before you drill. This short guide mirrors what we cover with customers after checkout and on our product pages.
What arrives in the box
Most single-color LED signs include the finished stainless steel plaque, mounting hardware, a 12V power adapter, and a spare LED strip. Confirm the exact kit on your product page. RGB models add app-controlled lighting; keep the controller and adapters dry.
Power basics
These signs need continuous low-voltage power. Route the cable to an indoor outlet or a weather-protected outdoor receptacle. Do not leave the adapter or connectors exposed to rain or snow. Fixed-color LED models use one backlight color (warm, white, or ice blue) and do not include timers or daylight sensors unless your listing says otherwise.
Mounting tips
- Hold the plaque at viewing height and mark holes with a level.
- Use anchors suited to brick, concrete, or siding—the included kit may target masonry first.
- Leave the recommended standoff gap so the backlight halo can show around cut numbers.
- Connect power only after the plaque is secure.
Before production
Enter your house number and street name at checkout. We normally send a digital design proof within 24 hours so you can check spacing before we cut the stainless face. Typical production is about 7–10 business days after approval, then tracked shipping from China.
For more ordering and shipping answers, visit our FAQs, or browse LED house number signs and RGB LED signs.